
Camper set up and take down instructions
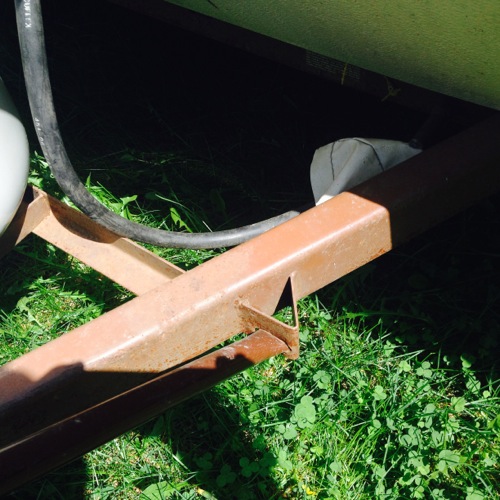
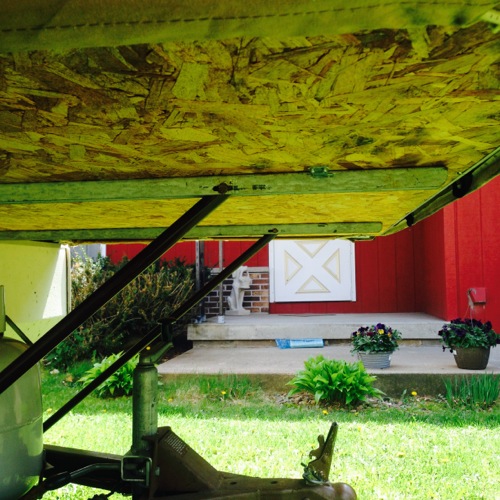
1) Park on a level surface. Unhook safety chains and lift ball hitch lever. Lower front stand cranking shaft by flipping lever. Reset lever. Crank down front wheel until ball pops free. Move car. Crank front wheel until trailer is mostly level.
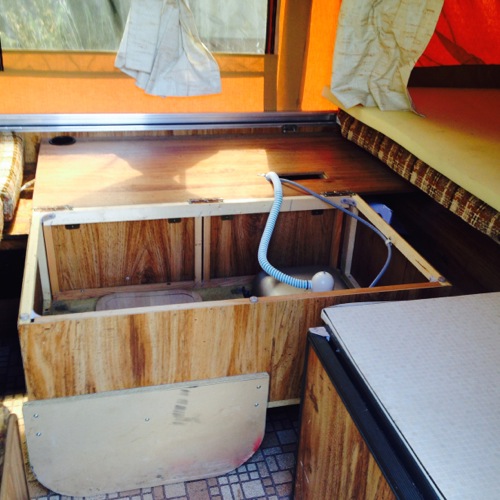
2) Open trailer door and pull the tubs out, and the bed shelf supports. Find the level in the buckets and finish leveling the trailer—note: roof of trailer is not flat and cannot be used to level the trailer.
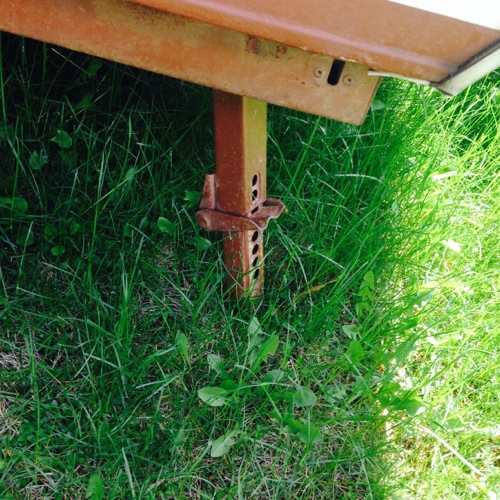
3) Put all (four) trailer feet down by pulling them out horizontally and turning them down. To adjust heights, put your foot on the lever and the the trailer foot will release.
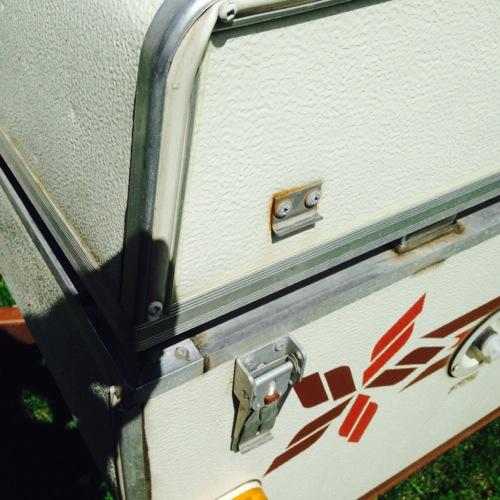
4) Walk around the trailer and unlatch all four corner latches.
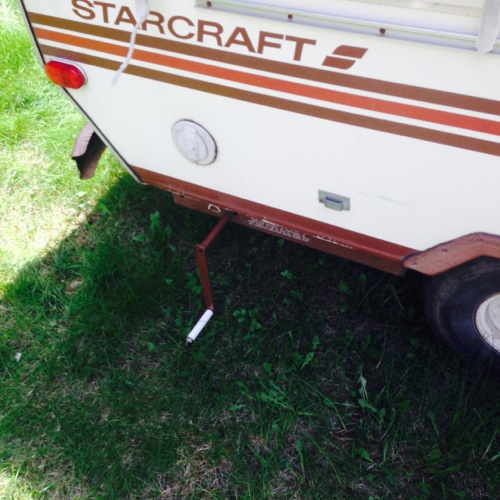
5) Find the crank in the buckets and insert into the slot to the left of the trailer door. Start cranking clockwise(?)–it will require a bit of oomph to get it started moving. Keep cranking until it is all the way up.
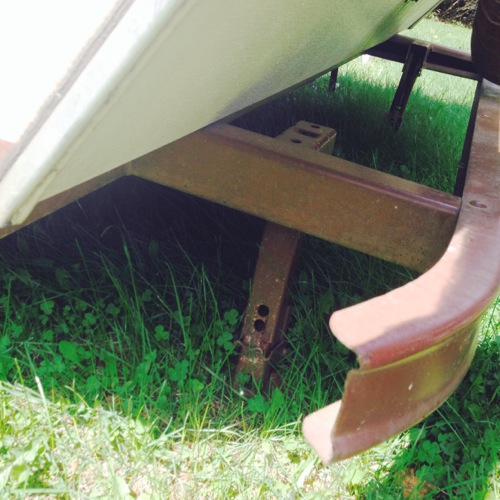
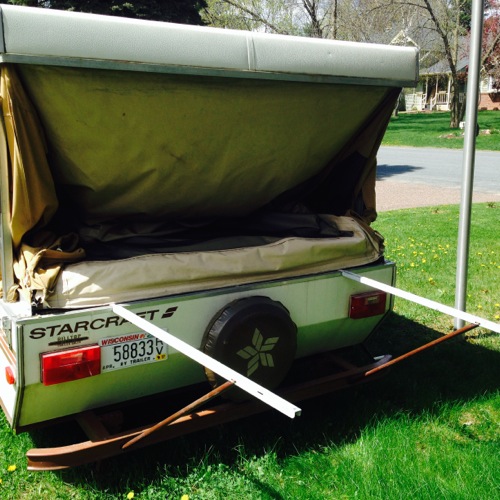
6) The bed shelf supports slide into slots on the lower frame, then a right angle piece slots into the upper trailer frame.
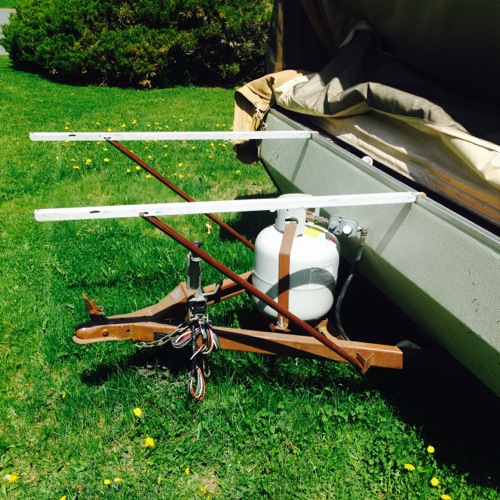
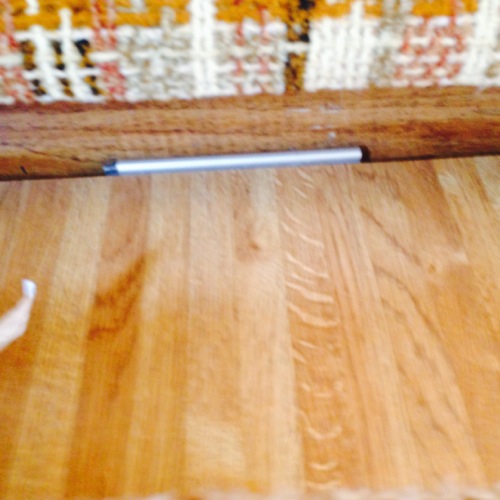
7) Pull the beds out by the handle near the center of the bed edge. You may need to pull up a little bit to get them out. The bed supports will then slide into pressure slots under the bed. These are stiff and may require a tap with a mallet to get them in.
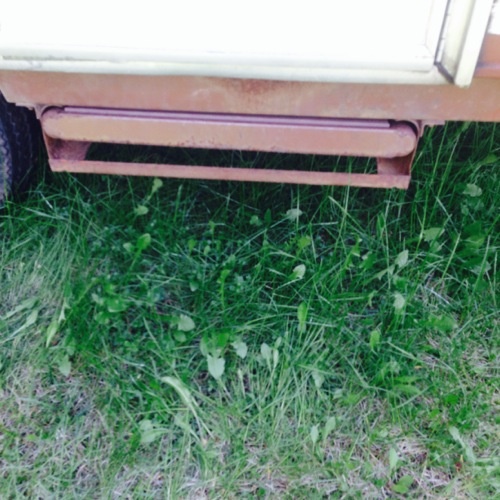
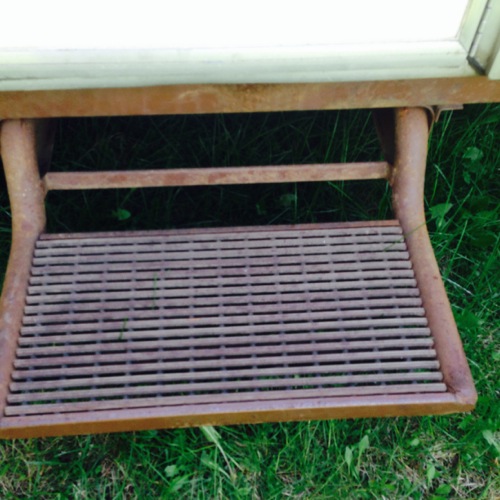
8) Set the trailer step by pulling up and out. Make sure it is properly seated before stepping on it!
We usually put the floor mats out too, to avoid getting too much dirt inside the trailer. Go inside the trailer and pull out the stove (skip this as stove is not currently in trailer).
9) Flip the kitchen counter upright.
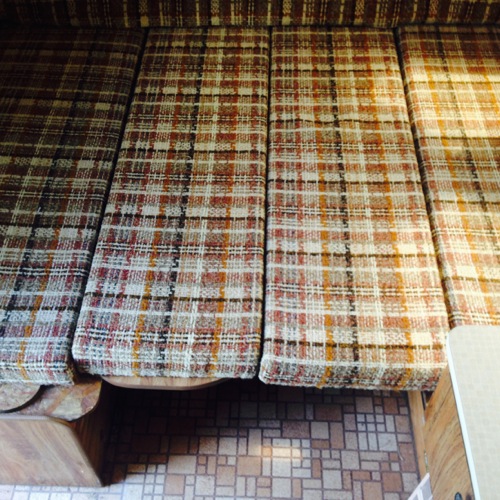
10) Pull the cushions off the seats and remove the table (set it on one of the beds). Flip the seat backs up (if the beds aren’t all the way pushed out you can give them a little shove) and replace the cushions. Set the table on one of the seats or out of the way. Under the bed mattresses are the canvas over-the-bed supports.

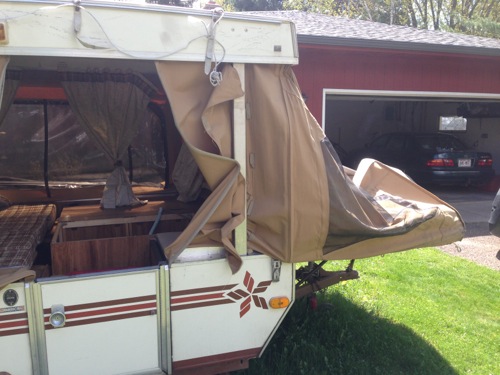
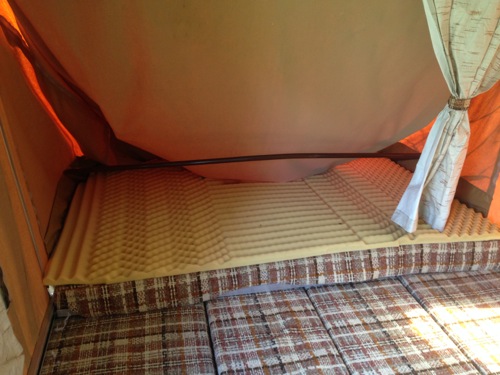
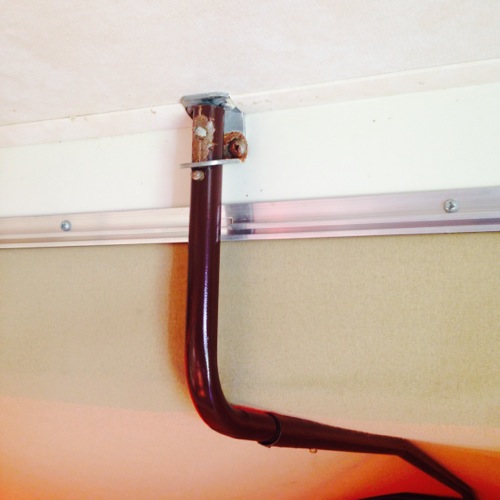
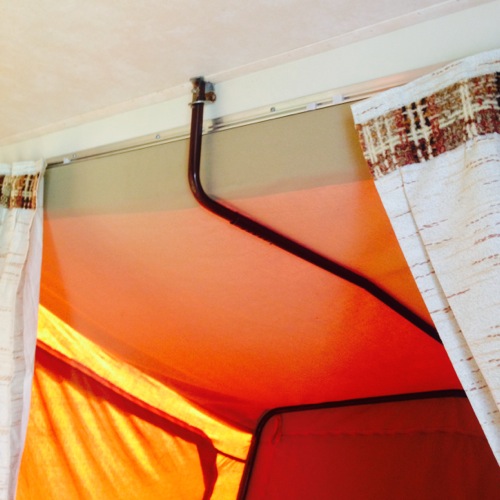
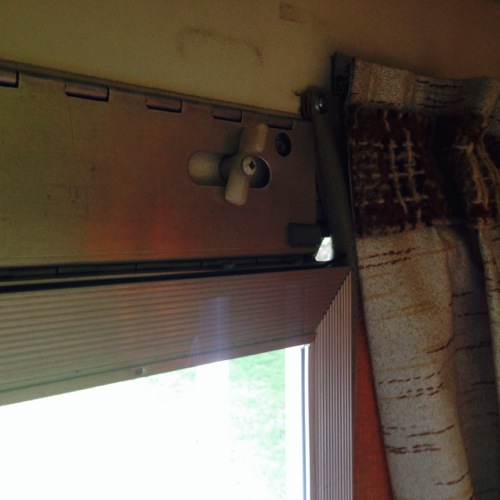
11) The bed shelf tent support will slot onto the angled frame and you can use the support to push the angled frame up and away from you. The other side of the support fits into a circular slot on the ceiling with a button to keep it in place. You may need to push hard to get it to fit in. This should set up the frame for the beds. Repeat with the other bed.
11A) To set up the door, close the lower portion of the door. Reach up to the ceiling of the trailer and unlock (turn) the clips holding the door up.

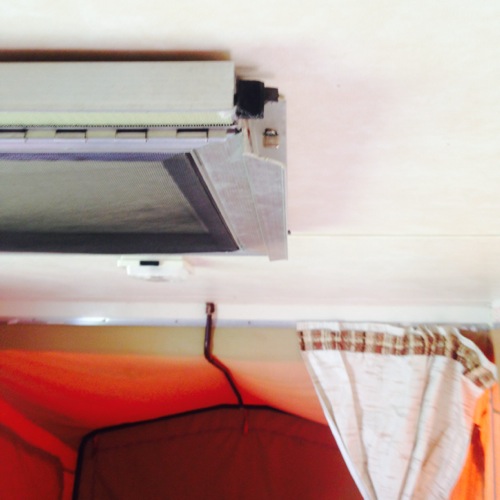
11B) The door will swing down. Try not to hit yourself.
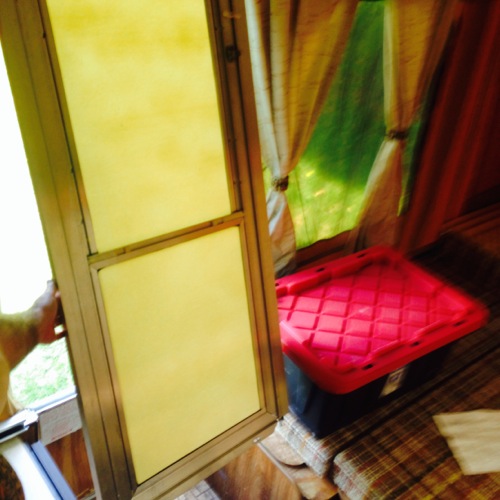
11C) Mate the lower and upper door halves. There is a hinged portion at the top of the door to give you some flexibility in inserting the top of the door into the lower portion.
11D) Once the two door sides are mated, push the door firmly towards the outside of the trailer until it snaps straight. Turn all the latches to hold the door in place.
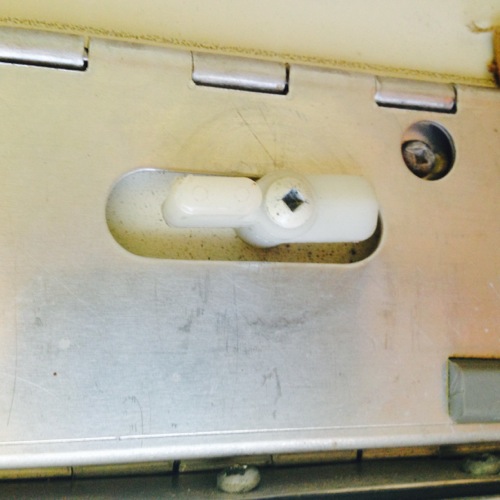
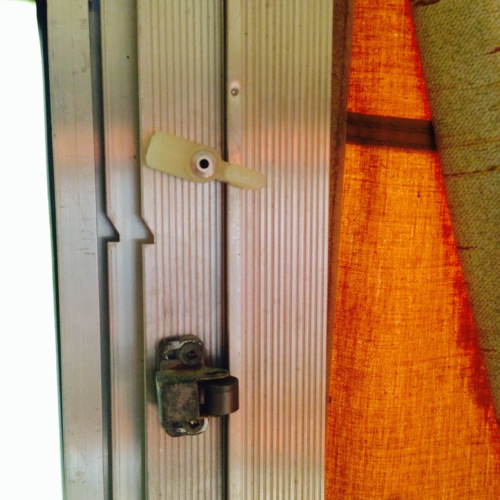
11E )Lock the two halves of the door together with the steel latch.


11F) Connect the Velcro on the outside of the door to be snug all around the door frame.
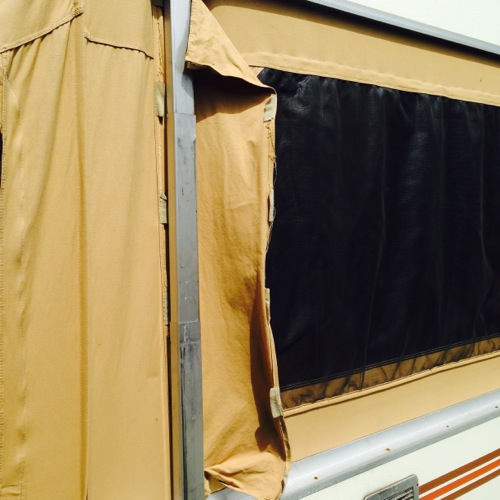
12) On the outside of the trailer, go around and cover the four telescoping main supports with the canvas using the Velcro tabs.
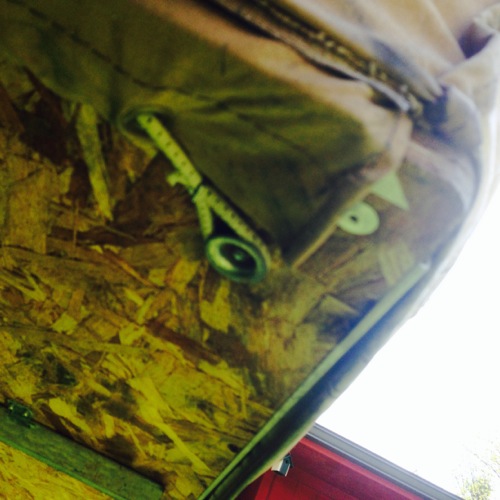
13) Under each bed platform there are a series of buttons to hook elastic loops onto. Secure all buttons
14) Make sure all the zippers are down as far as they go. Plug any small gaps with a bit of cloth.
15) Double check footings, door connections, that bed shelves are locked in place.
16) You’re done.
To take camper down reverse the process, make sure to do ALL the steps.